
Poor installation instruction will drive users crazy!!!
Installation
1. Clone PicoScenes
Make sure you have been invited to join the gitlab group then run git clone --recursive https://gitlab.com/wifisensing/PicoScenes.git to clone the project
2. Install Dependencies
follow the part of before_script on https://gitlab.com/wifisensing/release/PicoScenes-Release/-/blob/master/.gitlab-ci.yml
3. Install Driver
open https://ps.zpj.io/installation.html and go to 5.2.2 section, follow the first four directives
4. clone plugins
run git clone https://gitlab.com/wifisensing/PicoScenes-PDK.git to clone the plugins
5. Build
5.1 Build PicoScenes-PDK
move to the path of PicoScenes-PDK, run ./Fast_Build_Install_Plugin.sh
5.2 Build PicoScenes
move to the path of PicoScenes, run ./Fast_Build_Install_PicoScenes.sh
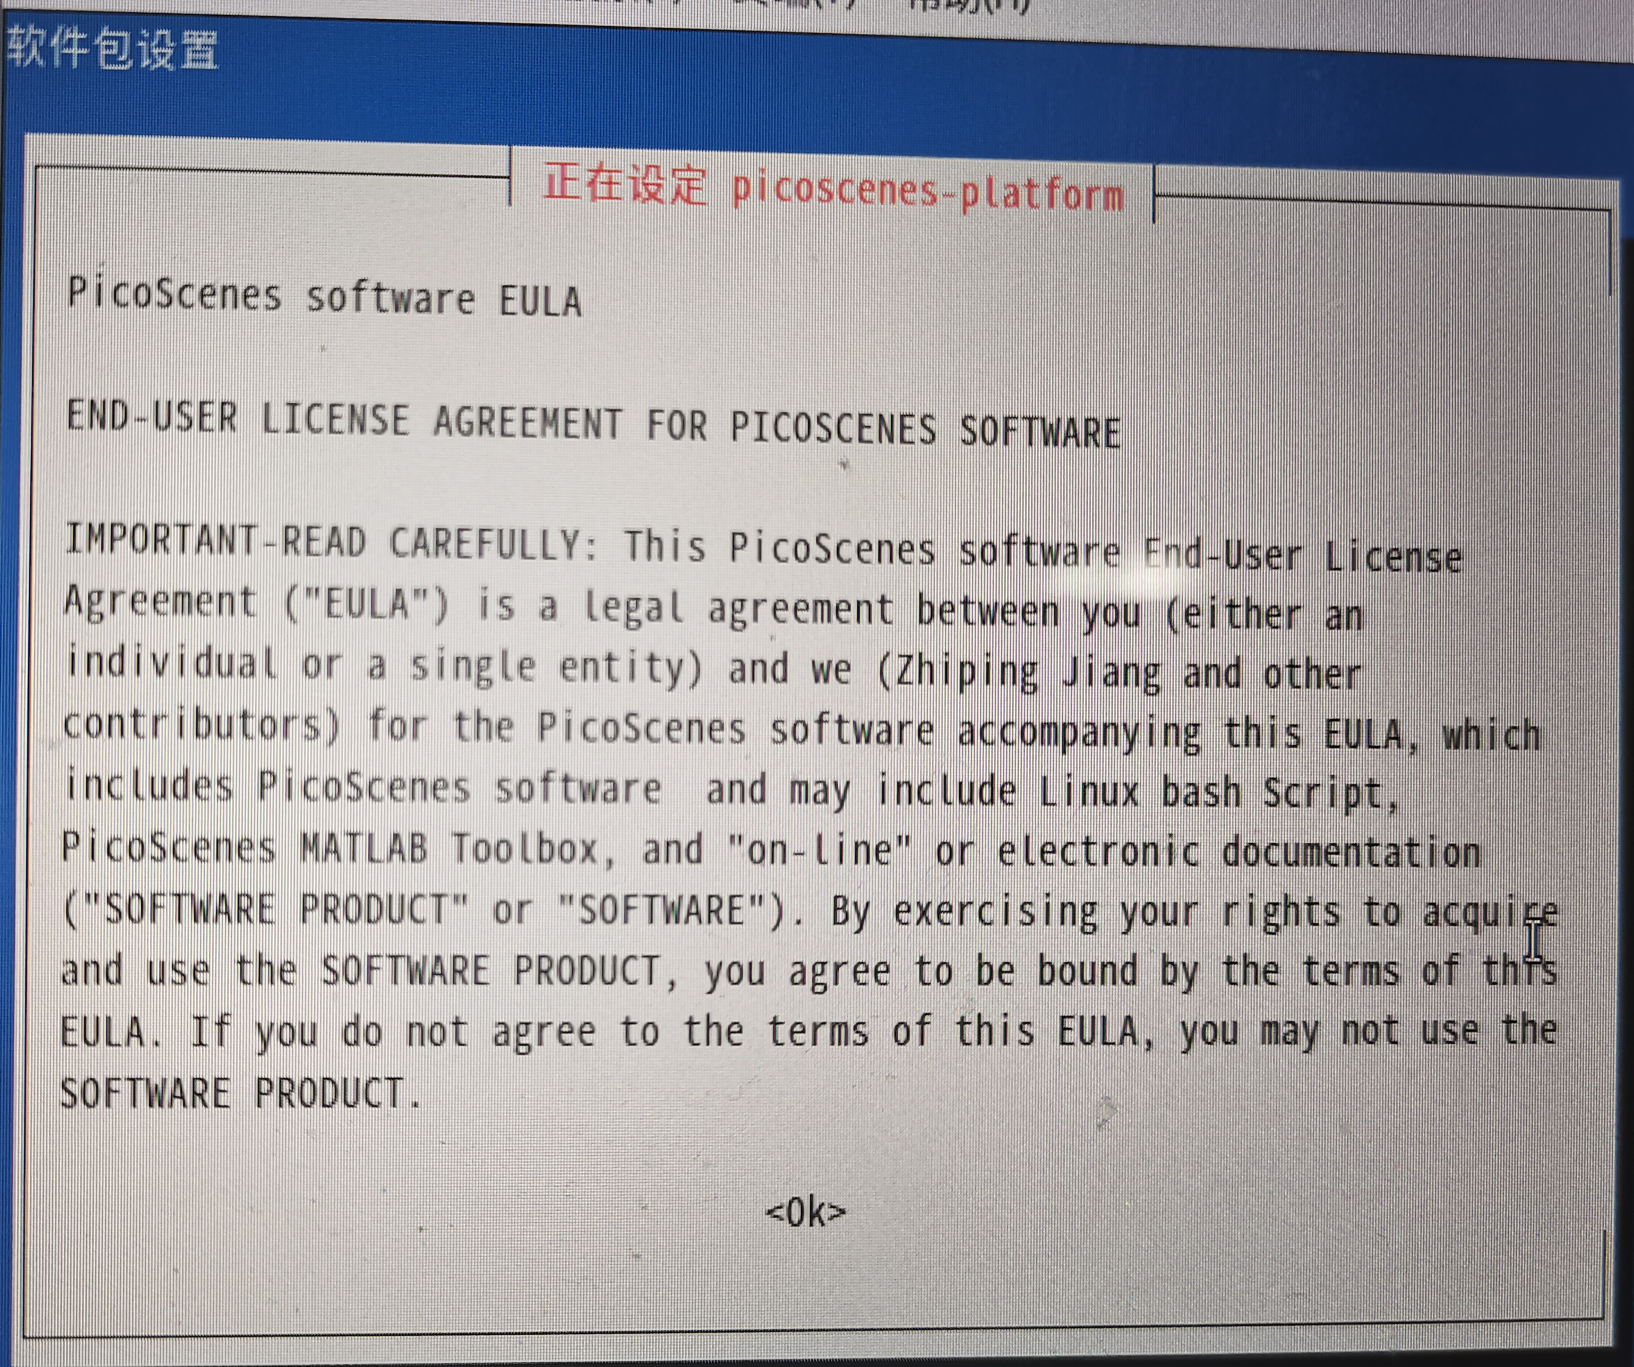
when you see the interface, press tab and enter , then you succeed in installation.
Then run PicoScenes two times to run the software
tips: if you first install the PicoScenes Platform, you need to follow the error information to improve your personal information
Debug Environment configuration
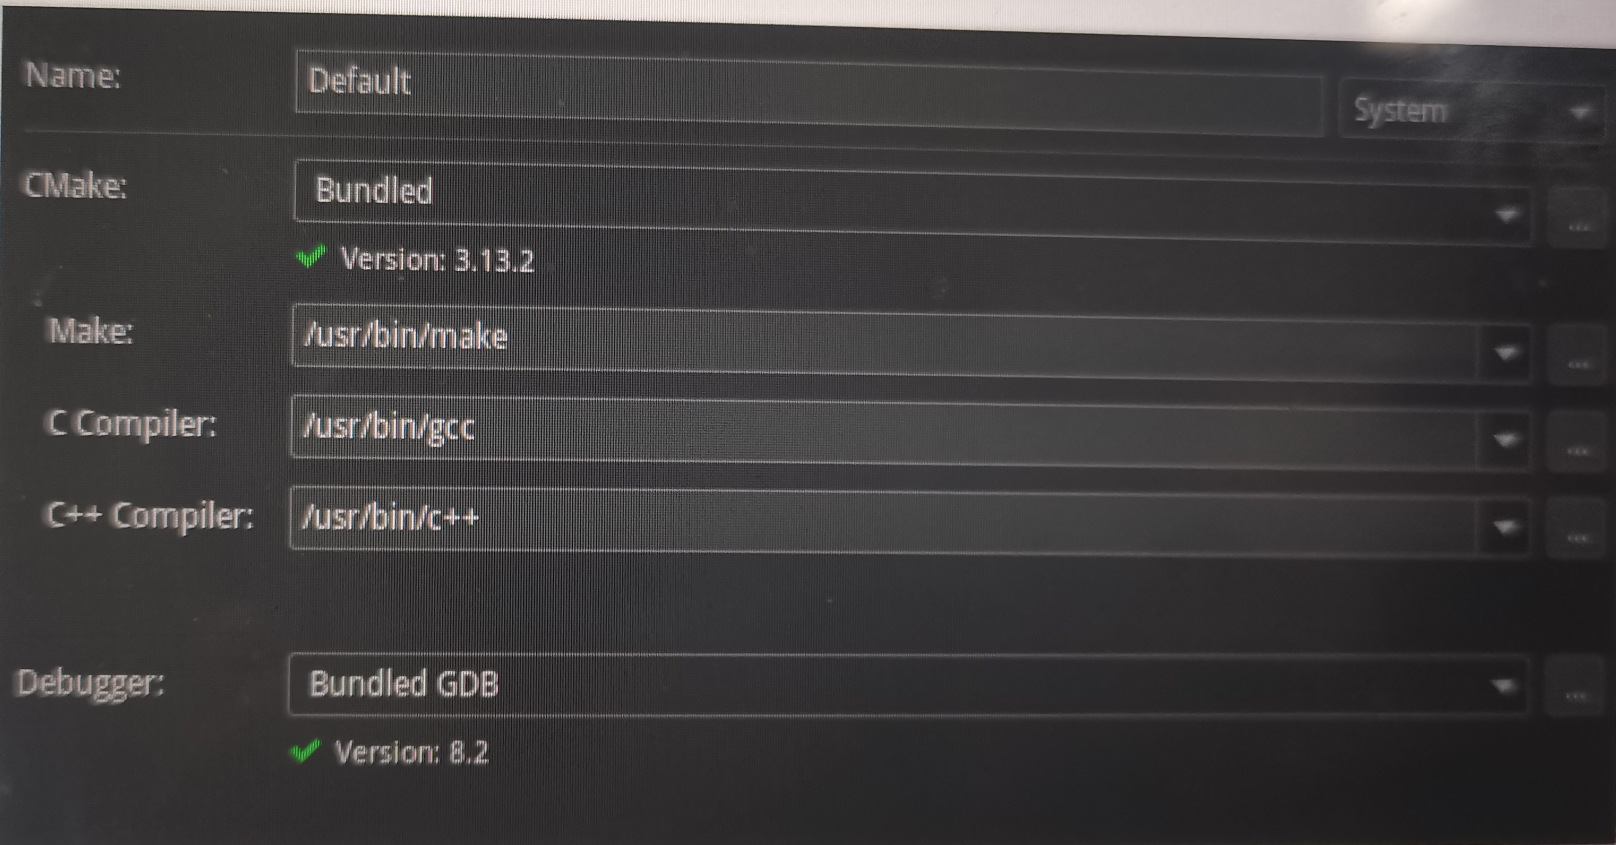
1. Compiler Configuration
2. Plugins Cath Configuration
2.1 select PicoScenes|Debug and edit configuration

2.2 add run external tools


